So, you're into spider web drawing, huh? Whether you’re a professional artist or just someone who loves doodling during boring meetings, this guide has got you covered. Creating a spider web sketch might sound simple at first glance, but trust me, there’s more to it than just drawing lines. It’s like creating a masterpiece that mimics nature’s intricate design. Stick around, and we’ll break it down step by step!
Art is all about creativity, and drawing spider webs is no exception. These delicate structures are not only fascinating to look at but also offer a unique challenge for any artist. From beginners to pros, everyone can benefit from learning the basics and advanced techniques to make their artwork stand out.
And hey, if you’re wondering why mastering spider web drawing is worth your time, let’s just say it adds a spooky yet artistic flair to your portfolio. Whether you’re designing for Halloween decorations, creating comic book panels, or simply expressing your love for arachnids, this skill will come in handy. Let’s dive in!
Read also:Ironmouse Face Reveal The Untold Story Of The Internetrsquos Favorite Anonymous Dj
Why Spider Web Drawing Matters
Before we get our hands dirty—or should I say, our pencils sharp—let’s talk about why drawing spider webs matters. For starters, spiders and their webs have been symbols of mystery and complexity throughout history. They appear in literature, mythology, and even modern pop culture. Think about movies like "Spider-Man" or books like "Charlotte’s Web." These creatures and their creations are everywhere!
Moreover, learning how to draw a spider web helps improve your skills in symmetry, geometry, and detail work. It’s like a crash course in design principles wrapped up in a single project. Plus, once you’ve nailed it, you’ll have a cool new trick up your sleeve to impress friends and family.
Understanding the Anatomy of a Spider Web
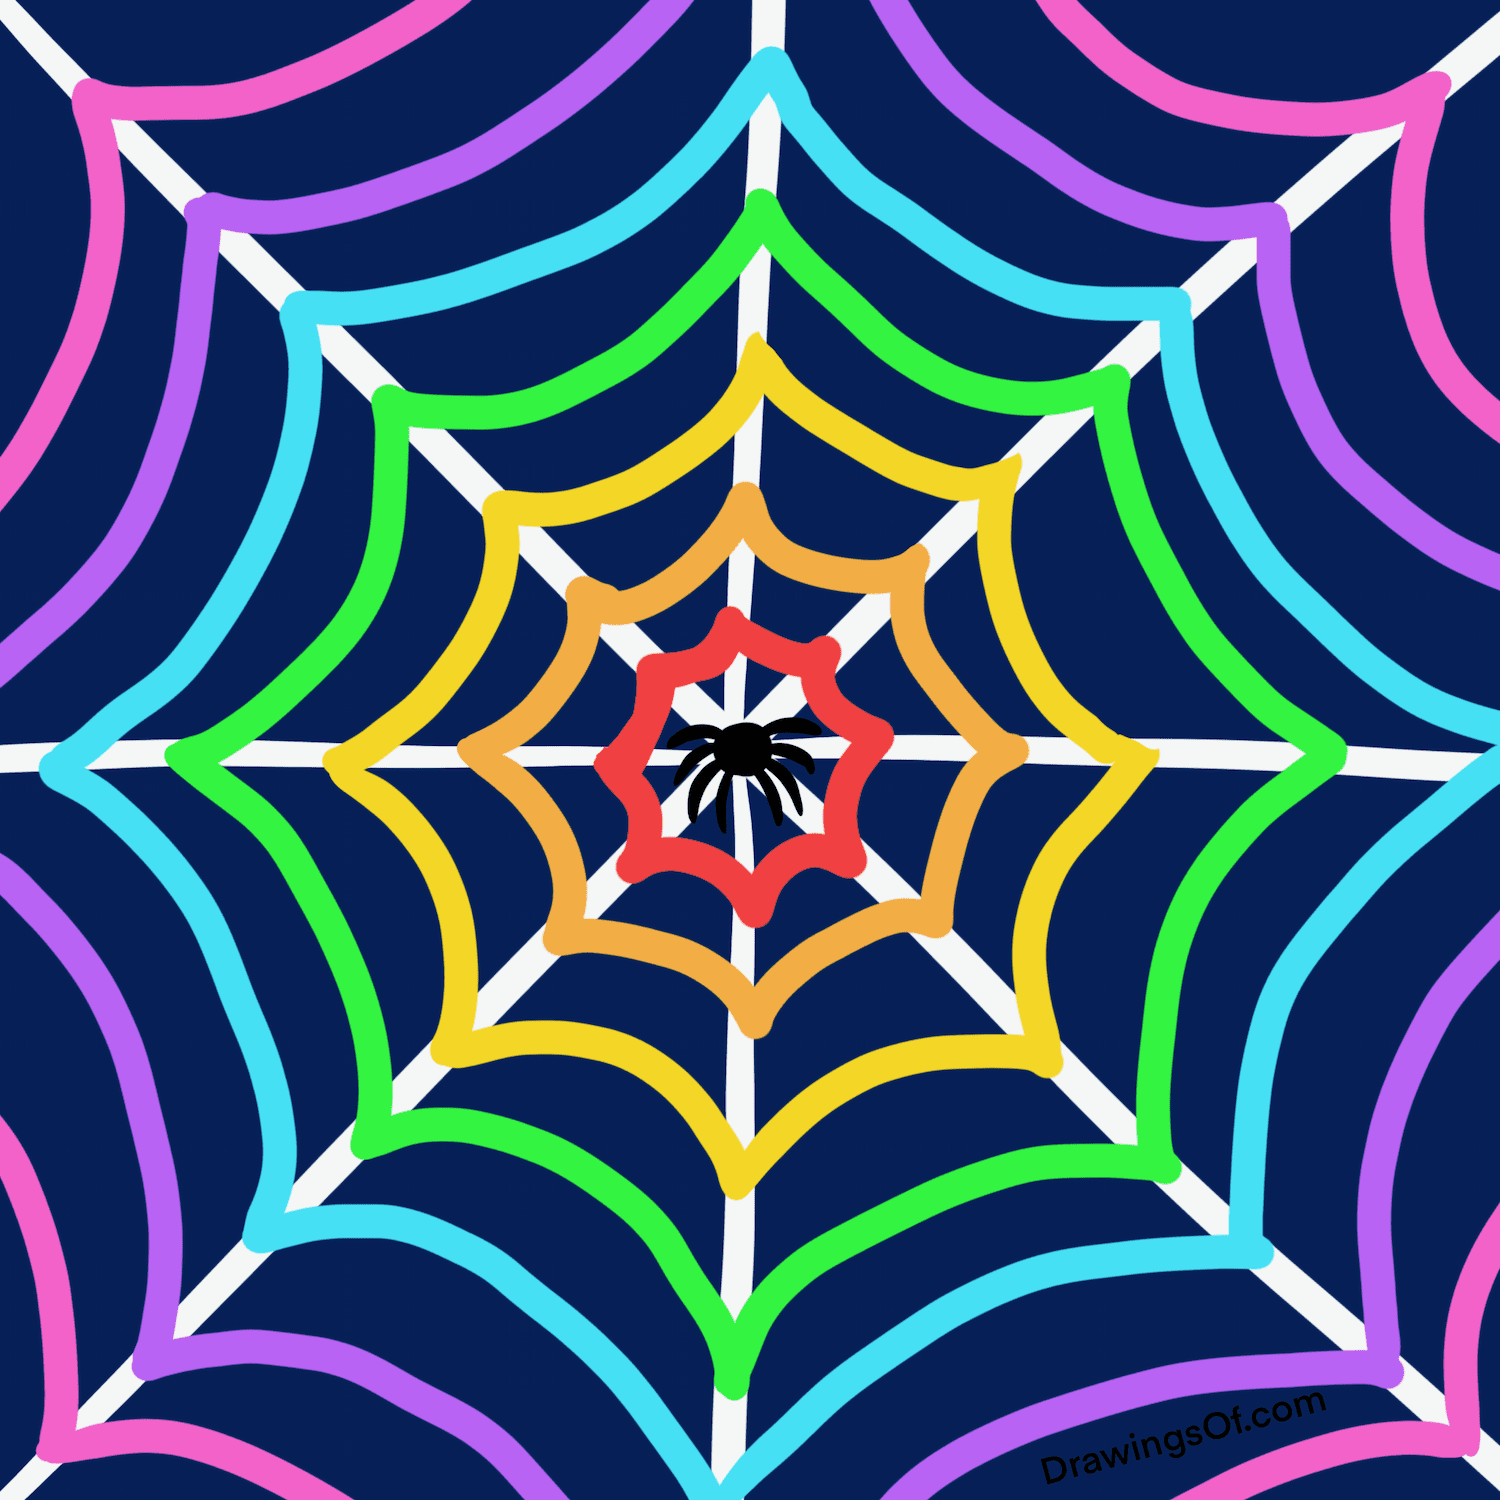
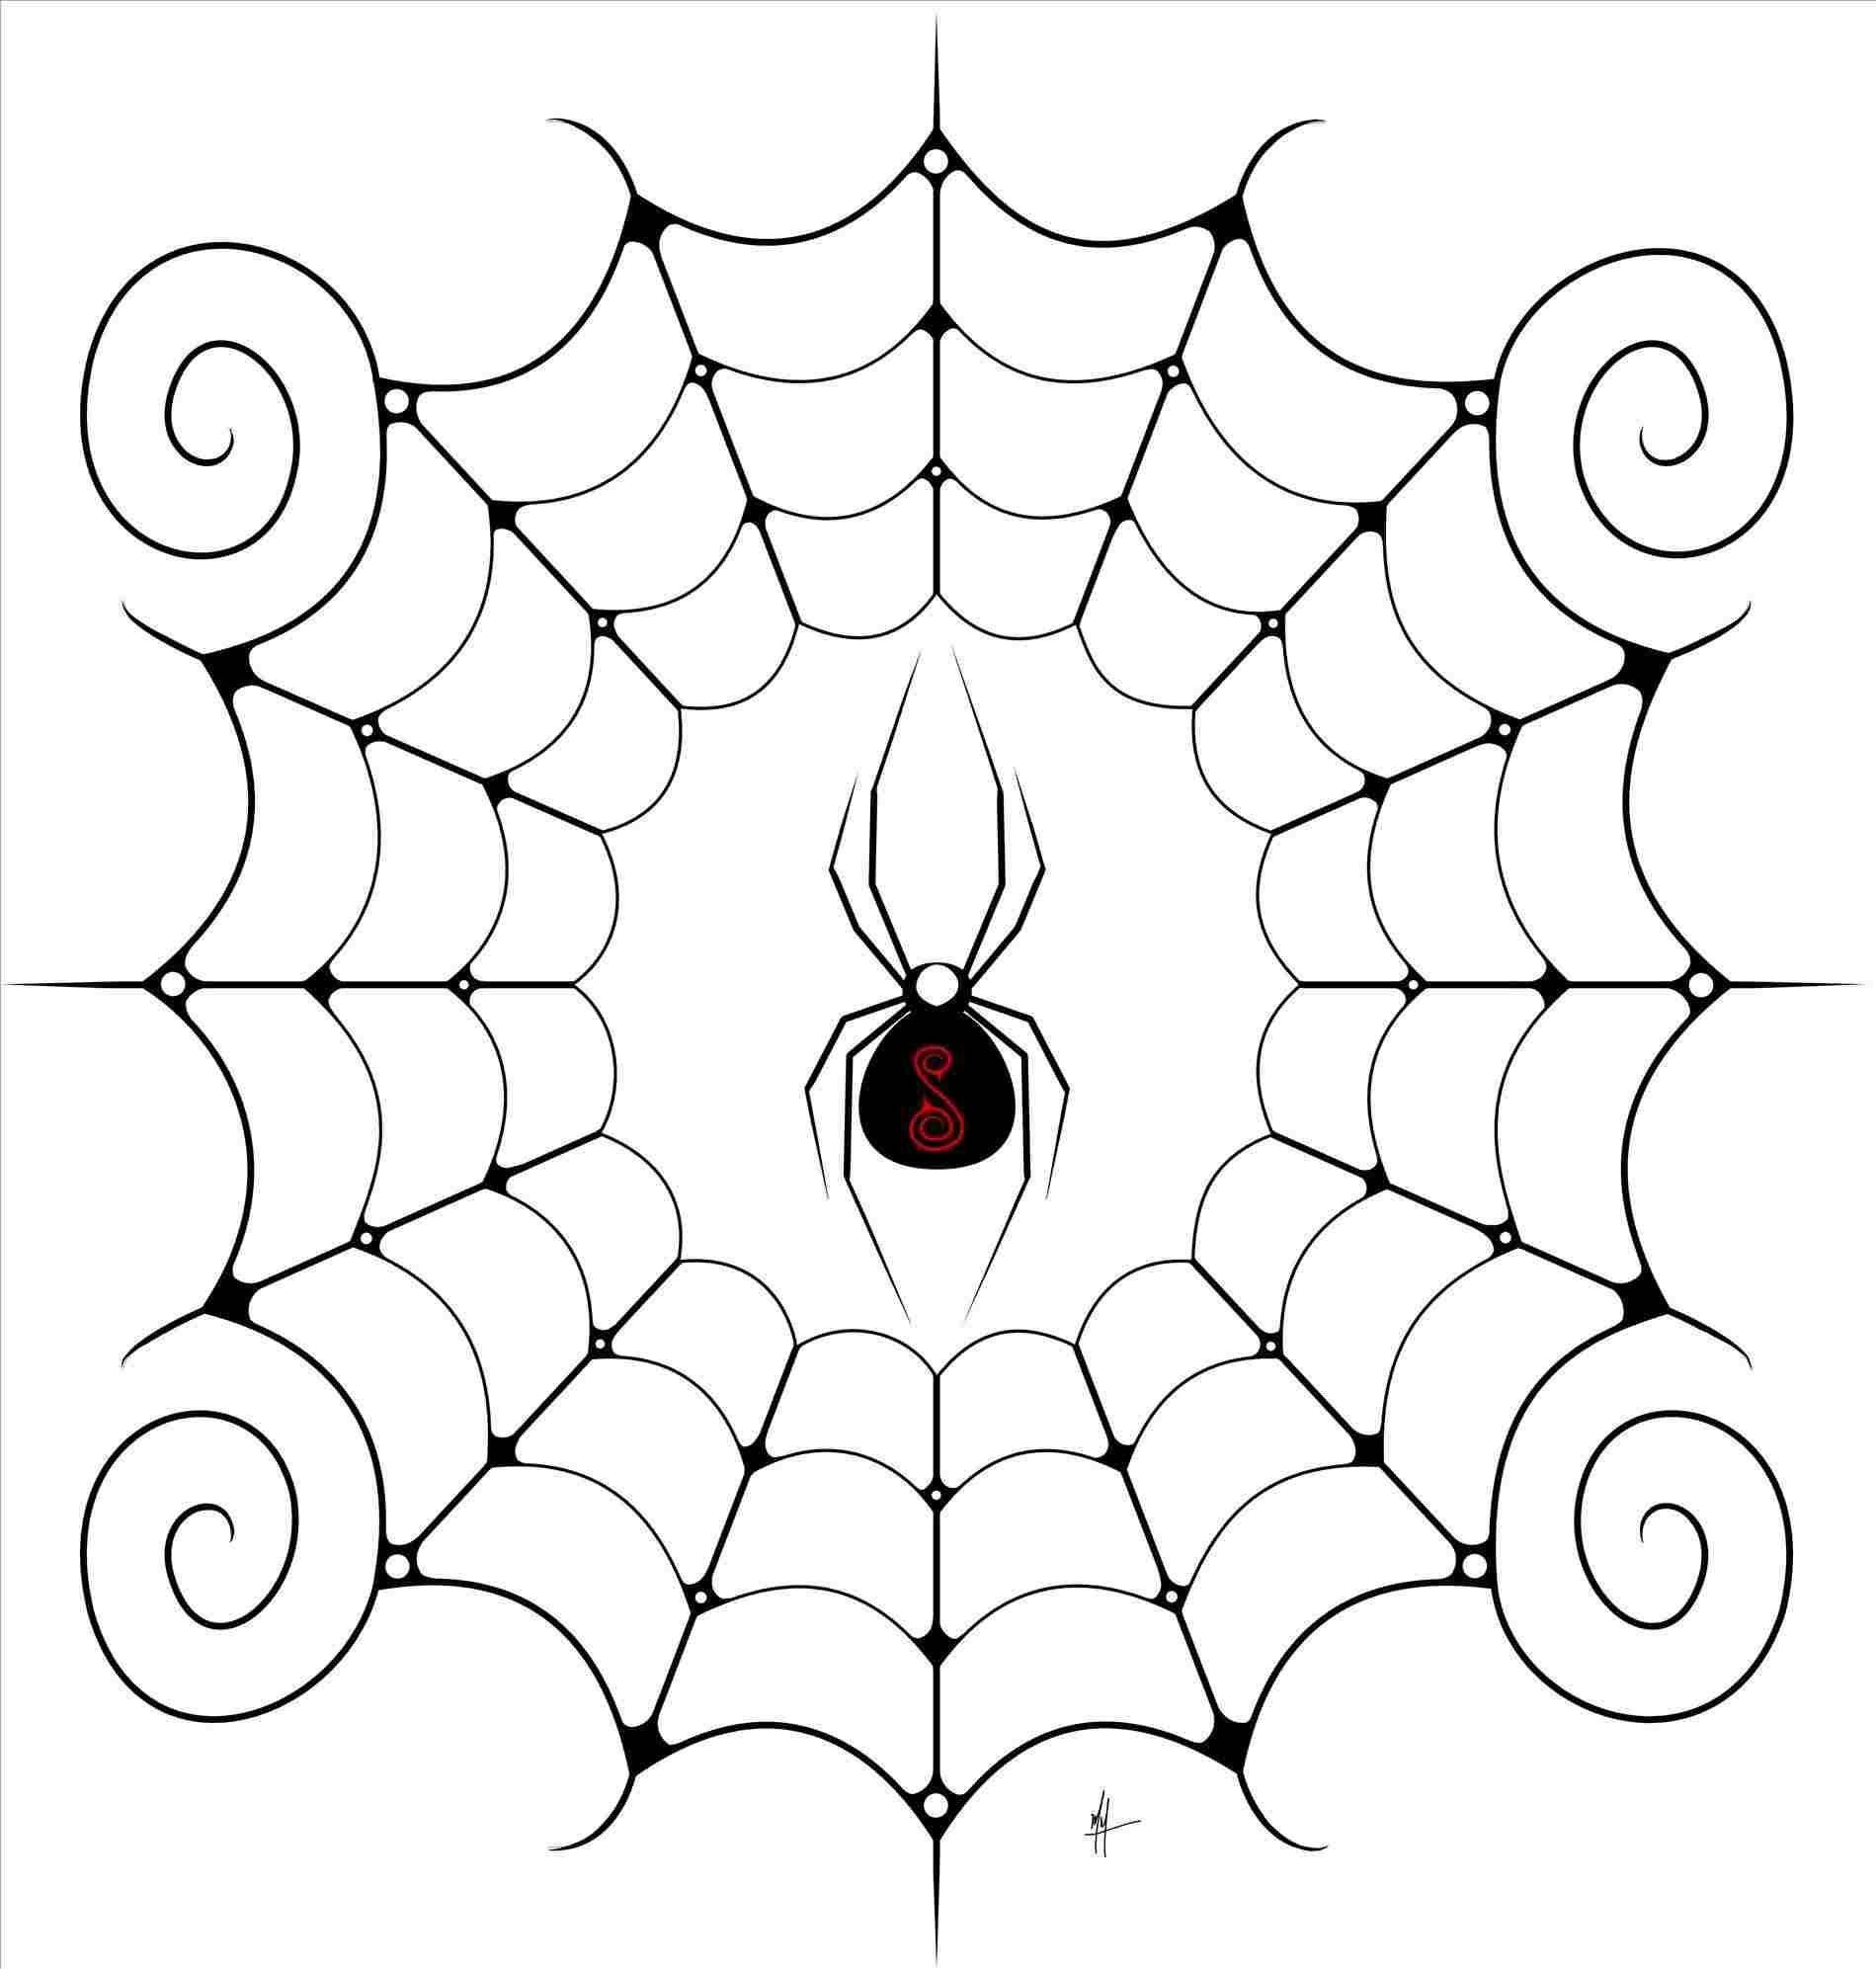
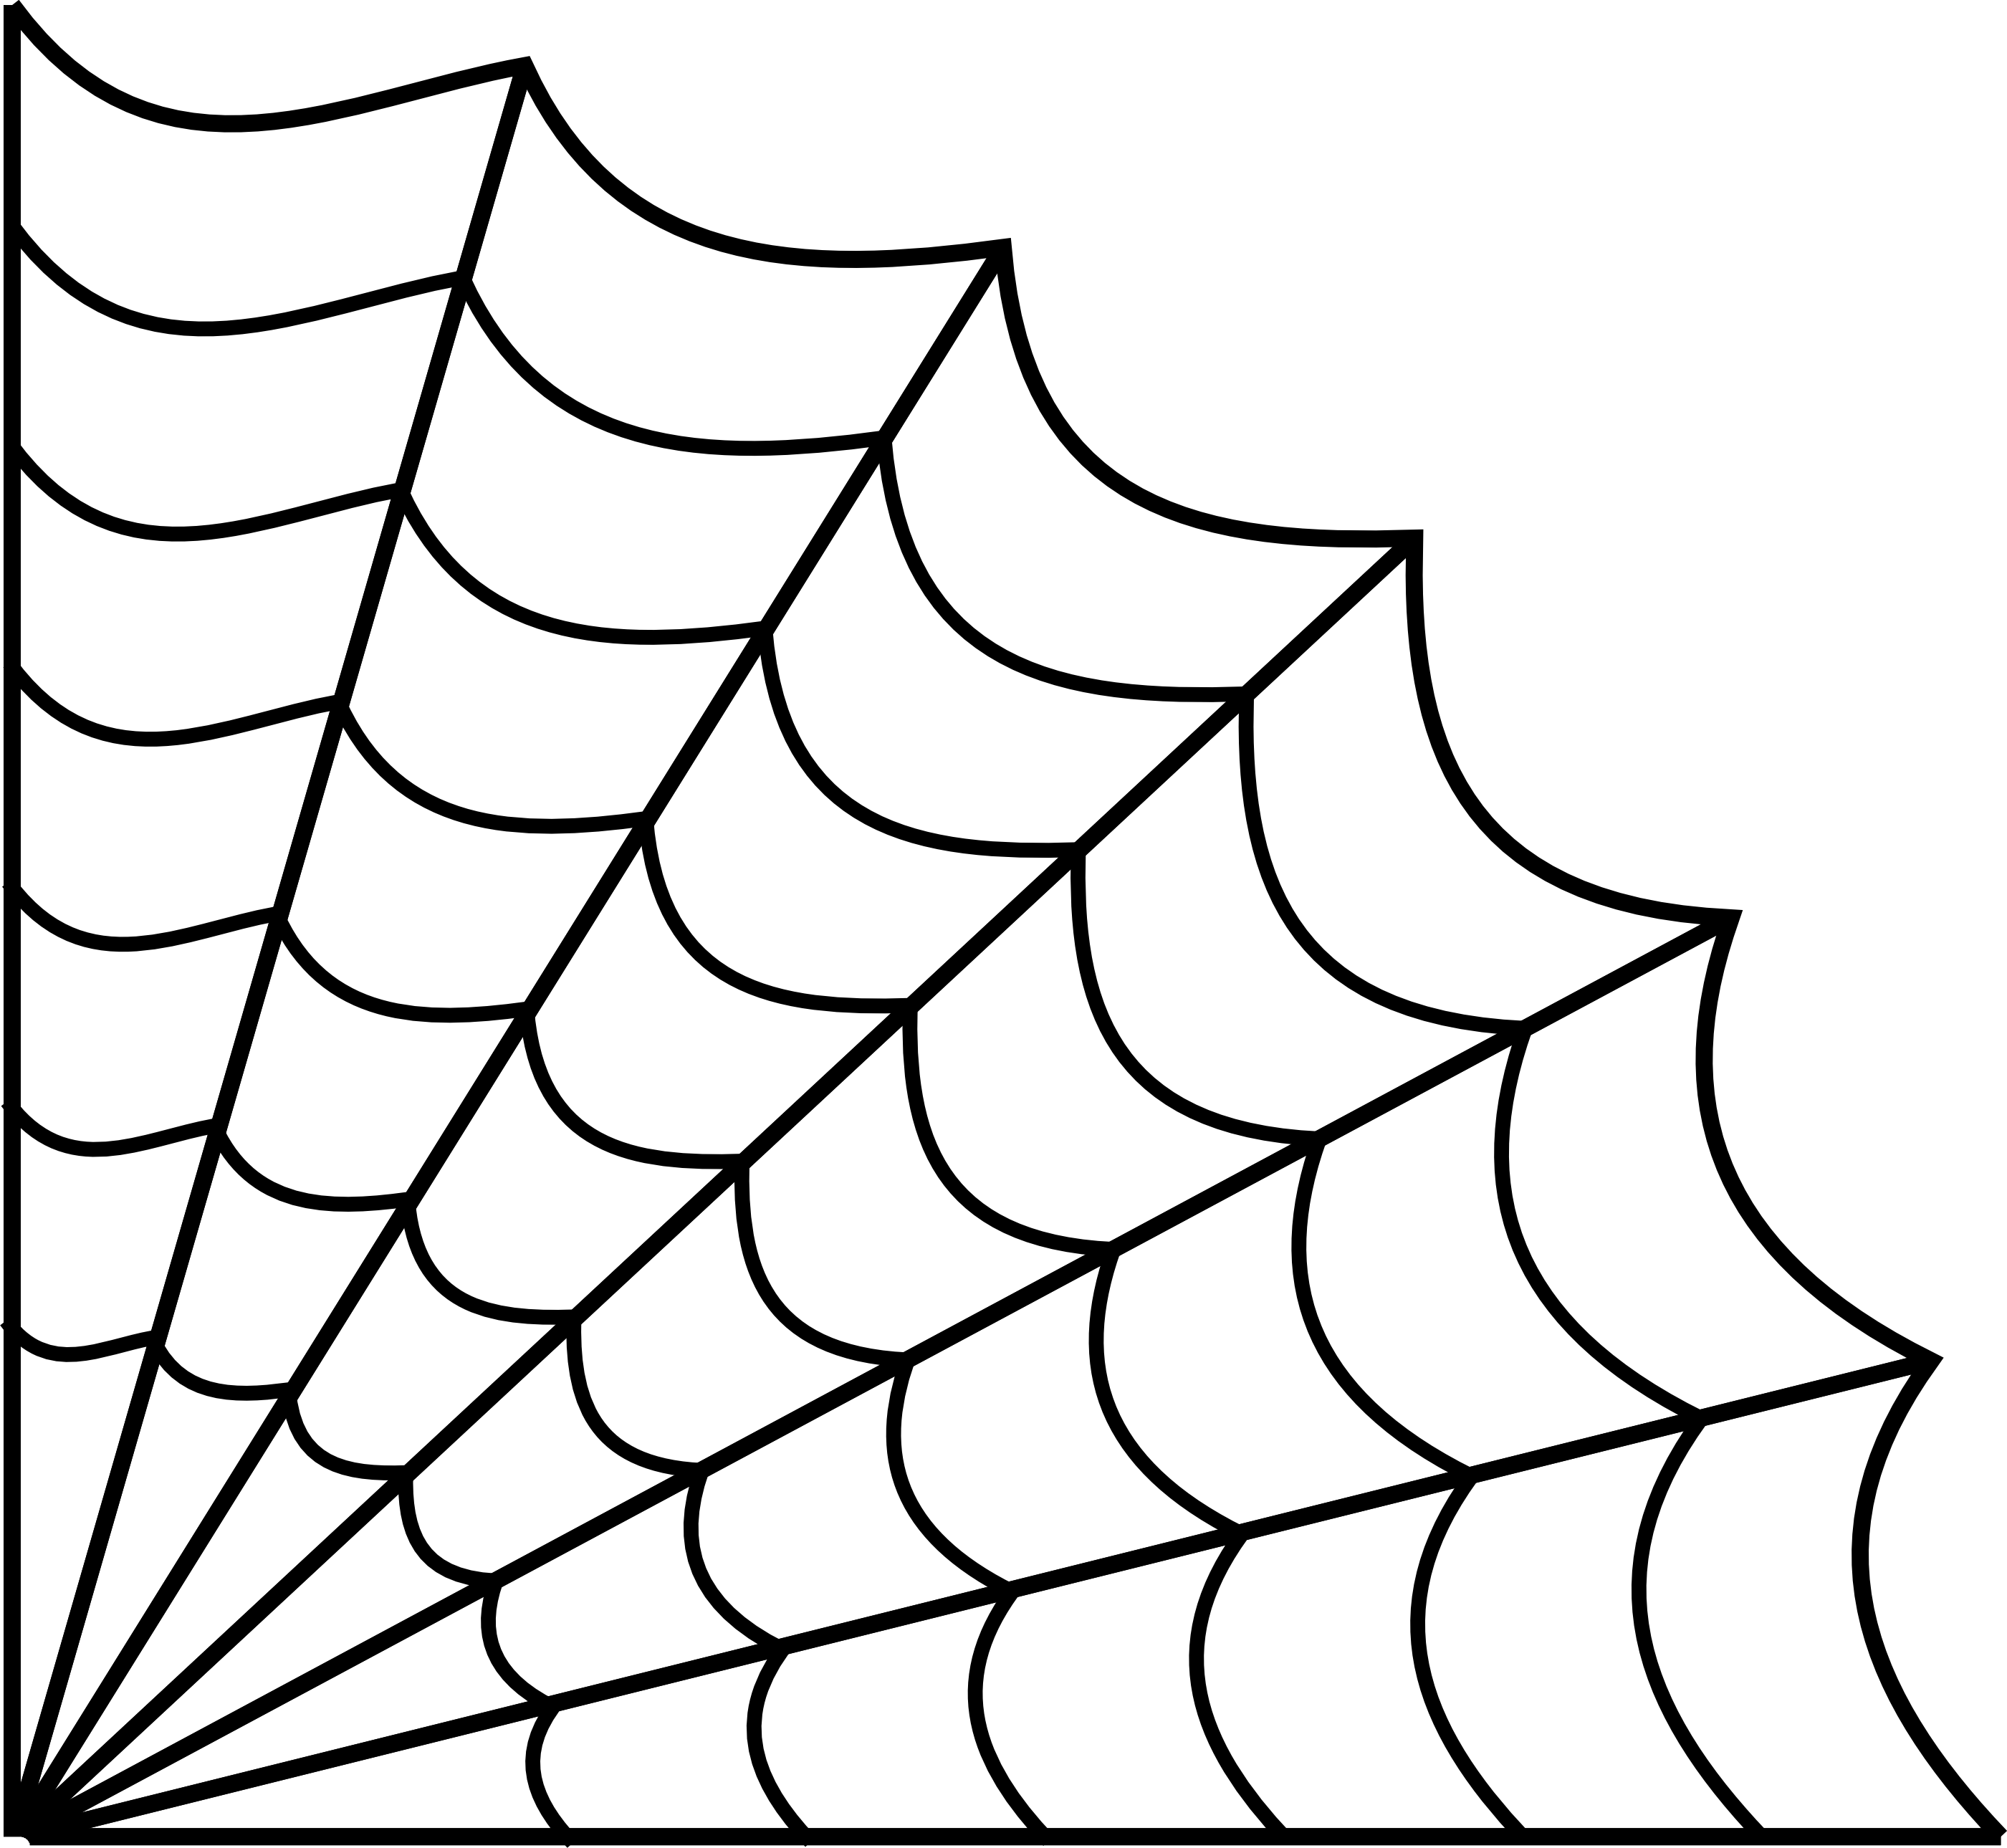
To create an authentic-looking spider web drawing, you need to understand its structure. Spider webs are made up of radial lines (like spokes on a wheel) and spiral threads that connect these lines. The center is usually denser, while the outer edges taper off. This pattern creates a sense of depth and balance, making it visually appealing.
- Radial Lines: Think of these as the foundation of your web. They radiate outward from the center like the arms of a starfish.
- Spiral Threads: These form the web’s intricate patterns by wrapping around the radial lines. They give the web its signature look.
- Hub: The central point where all the radial lines meet. This is often the thickest part of the web.
Tools You’ll Need for Spider Web Drawing
Now that you know what makes a spider web tick, let’s talk tools. You don’t need anything fancy to get started, but having the right supplies can make a big difference. Here’s a quick rundown:
- Pencil: A good old HB pencil works wonders for sketching the basic outline.
- Eraser: Mistakes happen, so keep one handy. A kneaded eraser is great for fine-tuning details.
- Pen: Once you’re happy with your sketch, use a fine-tip pen to ink over the lines for a cleaner finish.
- Paper: Any type will do, but if you’re serious about art, consider investing in quality drawing paper.
Oh, and if you want to add some color to your spider web drawing, watercolors or colored pencils can bring your creation to life. Just remember, less is more when it comes to shading.
Choosing the Right Medium
When it comes to drawing spider webs, the medium you choose can affect the final result. For example, using charcoal can create a dramatic, smoky effect, perfect for dark and moody pieces. On the other hand, colored pencils allow for more precision and vibrancy, ideal for bright and cheerful designs.
Read also:Quinnfinite Scooby Doo The Ultimate Guide To A Mystery Icon
Step-by-Step Guide to Drawing a Spider Web
Alright, let’s get into the nitty-gritty of how to draw a spider web. Follow these steps, and you’ll be spinning your own web of creativity in no time!
Step 1: Start with the Hub
Begin by drawing a small circle in the center of your paper. This will serve as the hub of your spider web drawing. Keep it light so you can erase it later if needed.
Step 2: Add Radial Lines
From the hub, draw several straight lines extending outward. Think of them as the spokes of a wheel. Aim for about 12-15 lines to create a balanced look.
Step 3: Create the Spiral Threads
Now comes the fun part. Starting from the outermost radial line, draw a curved line connecting it to the next one. Continue this process, working your way inward until you reach the hub. Make sure the spirals get progressively smaller as they approach the center.
Step 4: Refine Your Lines
Take a moment to go over your sketch, adjusting any uneven lines or gaps. This is where having a kneaded eraser comes in handy for smoothing out imperfections.
Step 5: Ink It In
Once you’re satisfied with your pencil sketch, grab your pen and carefully trace over the lines. This will give your spider web drawing a polished appearance.
Step 6: Add Details
Finally, add some finishing touches to make your web pop. You can include droplets of dew for a realistic touch or incorporate a spider lurking in the corner for extra spookiness.
Tips and Tricks for Perfecting Your Spider Web Drawing
Here are a few pro tips to help you take your spider web drawing to the next level:
- Use a ruler for clean radial lines, but don’t be afraid to let the spirals flow freely.
- Vary the thickness of your lines to create depth and dimension.
- Experiment with different shapes and sizes to make your web unique.
- Study real spider webs for inspiration. Nature is the ultimate artist!
Common Mistakes to Avoid
Even the best artists make mistakes, but being aware of them can save you a lot of headaches. Here are some common pitfalls to watch out for:
- Forgetting to balance the radial and spiral lines. Too many spirals can overwhelm the hub.
- Not paying attention to symmetry. A lopsided web looks unnatural.
- Rushing the process. Take your time to ensure every detail is perfect.
How to Fix Mistakes
If you do mess up, don’t panic. Most mistakes can be easily fixed with a little patience. For example, if your lines aren’t symmetrical, use a light pencil to redraw them before inking. And if you accidentally make a line too thick, use an eraser to lighten it.
Exploring Different Styles of Spider Web Drawing
Once you’ve mastered the basics, why not experiment with different styles? From minimalist designs to hyper-realistic renderings, the possibilities are endless. Here are a few ideas to inspire you:
- Abstract Style: Break free from traditional patterns and create a web that’s all about bold shapes and colors.
- Realistic Style: Study photos of real spider webs and try to replicate their intricate details.
- Cartoon Style: Add a playful twist by incorporating fun elements like smiling spiders or cartoonish dew drops.
Choosing the Right Style for Your Project
Your choice of style will depend on the purpose of your spider web drawing. If you’re creating art for a children’s book, a cartoonish approach might be best. But if you’re designing for a horror movie poster, a more realistic style would suit the mood.
Advanced Techniques for Pro Artists
If you’re ready to take your spider web drawing skills to the next level, here are some advanced techniques to try:
- Shading: Use hatching and cross-hatching to add depth and shadow to your web.
- Perspective: Experiment with drawing webs from different angles to create dynamic compositions.
- Texture: Add texture to your lines to mimic the sticky, silky feel of a real web.
Conclusion: Your Journey into Spider Web Drawing
And there you have it, folks! By following this guide, you’ve learned everything you need to know about spider web drawing. From understanding the anatomy of a web to mastering advanced techniques, you’re now equipped to create stunning artworks that will leave others in awe.
So, what are you waiting for? Grab your pencil and start spinning your own web of creativity. And don’t forget to share your masterpiece with the world. Who knows? You might just inspire the next generation of artists!
Table of Contents
- Why Spider Web Drawing Matters
- Understanding the Anatomy of a Spider Web
- Tools You’ll Need for Spider Web Drawing
- Step-by-Step Guide to Drawing a Spider Web
- Tips and Tricks for Perfecting Your Spider Web Drawing
- Common Mistakes to Avoid
- Exploring Different Styles of Spider Web Drawing
- Advanced Techniques for Pro Artists
- Conclusion